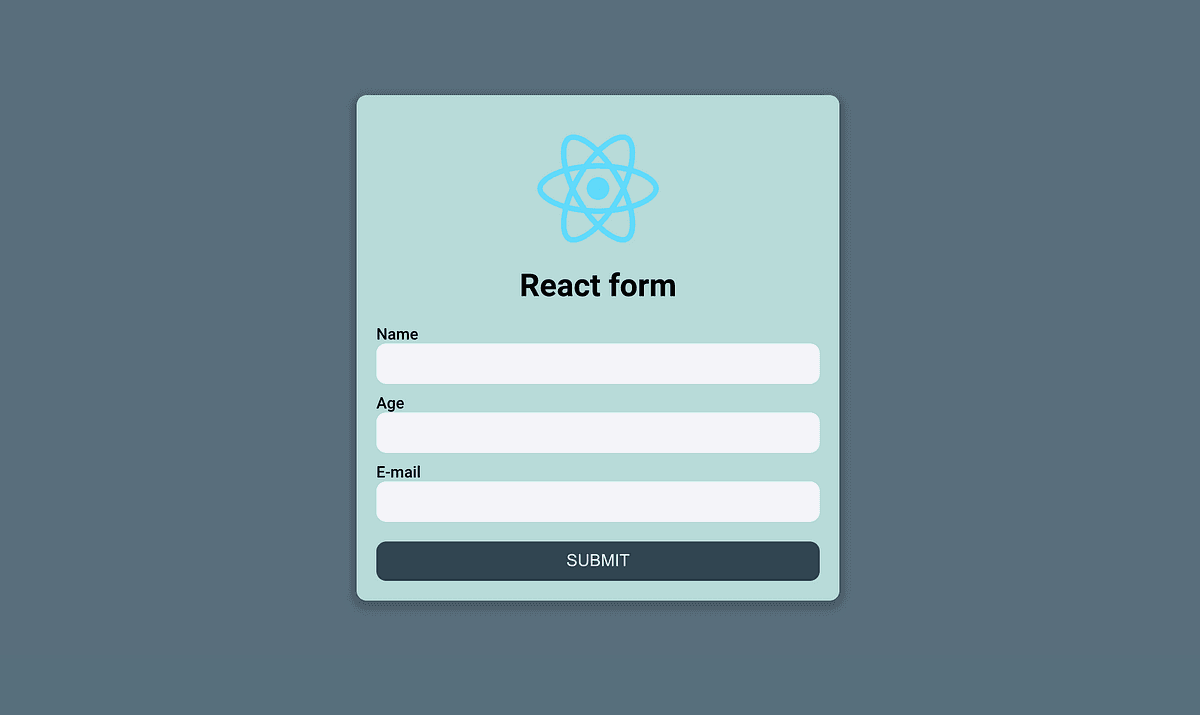
Introduction to Form Validation in React JS
Jul 29, 2024

Importance of Form Validation in React JS
Form validation in React JS serves several key purposes:
Ensures data accuracy: By validating user input, you can guarantee that the data submitted through forms is accurate and meets the application's requirements.
Improves user experience: Clear and helpful error messages guide users towards correcting their input, leading to a smoother form submission process and a more positive overall experience.
Enhances data integrity:
Validating form data on both the client-side and server-sidehelps maintain data integrity and prevents the submission of incomplete or incorrect information.Reduces server load: By catching invalid input on the client-side, you can minimize the number of requests sent to the server, reducing its load and improving overall performance.
Fundamental Concepts of Form Validation in React JS
Before diving into the implementation details, it's essential to understand the basic concepts of form validation in React JS:
Controlled components: React recommends using controlled components for forms, where the value of each form element is managed by React state rather than the DOM. This makes it easier to validate input and provide error messages.
Single source of truth: Maintain a single source of truth for your form data by storing it in the component's state. This ensures that the form state is always up-to-date and consistent with the application's state.
Client-side and server-side validation: Implement validation on both the client-side and server-side to ensure data accuracy and security. Client-side validation provides immediate feedback to the user, while server-side validation acts as a final check before processing the data.
Validation schemas: Use validation schemas to define the rules for each form field. This makes the validation logic reusable and maintainable across your application.
Best Practices for Form Validation in React JS
To ensure a smooth and effective implementation of form validation in React JS, follow these best practices:
Use controlled components for forms
Maintain a single source of truth for form data
Validate input on both the client-side and server-side
Use a library for schema validation
Avoid relying solely on HTML5 form validation
Use descriptive and actionable error messages
Provide visual cues for form validation status
Optimize form validation performance
Test form validation thoroughly
Keep form validation logic modular and reusable
Popular Libraries for Form Validation in React JS
While you can implement form validation using vanilla React, several libraries have emerged to simplify the process and provide additional features. Here are some of the most popular libraries:
Formik: A popular library that simplifies form handling by managing form state, handling submission, and providing methods for input validation.React Hook Form: Leverages React hooks to improve the performance of form components by reducing the number of re-renders.Redux Form: Designed for applications using Redux as the state management solution, Redux Form connects your form components directly to the Redux store.
Yup: A schema validation library that allows you to define validation rules using a simple and expressive API.
Joi: Another schema validation library that provides a comprehensive set of rules and error messages for form validation.
Step-by-Step Tutorial: Implementing Form Validation in React JS
Now, let's dive into a step-by-step tutorial on implementing form validation in React JS using the Formik library and Yup schema validation:
Install Formik and Yup:
Create a form component:
Define validation rules using Yup:
Use the Formik and Field components to create the form structure:
Display error messages using the ErrorMessage component:
Style the error messages and validation status:
By following this tutorial and incorporating the best practices mentioned earlier, you can create robust and user-friendly form validation in your React JS applications.
Conclusion
Form validation is a crucial aspect of building modern web applications with React JS. By understanding the fundamental concepts, best practices, and popular libraries, you can create maintainable and scalable form validation solutions. Remember to always prioritize user experience by providing clear and helpful error messages, and test your form validation thoroughly to ensure data accuracy and security.